The Step-by-Step Guide to the Storyboarding Process
Understanding the Importance of Storyboarding
Storyboarding is a vital tool in visual storytelling, allowing creators to plan out their narratives visually. It helps map out scenes and actions, ensuring that the story flows logically from beginning to end. Think of it as a blueprint for a house; without it, you might end up with a structure that's hard to navigate.
A picture is worth a thousand words.
In film, animation, or even marketing, a storyboard acts as a visual guide for everyone involved, from directors to artists. This clarity helps in communicating ideas and aligning the team on the vision. Ultimately, a well-crafted storyboard saves time and resources by identifying potential issues early in the process.
Moreover, storyboarding can spark creativity. By sketching out ideas, creators can experiment with various visual elements and narrative techniques. This exploration is often where the magic happens, leading to innovative and captivating storytelling.
Gathering Your Ideas and Conceptualizing
The first step in the storyboarding process is to gather all your ideas and conceptualize the narrative. This can involve brainstorming sessions, where you jot down key scenes, dialogues, and emotions that you want to convey. Think of it as gathering puzzle pieces that will come together to form a complete picture.
Once you have a list of ideas, it’s helpful to organize them in a logical order. This could mean outlining the main plot points or themes and their progression throughout the story. This step ensures that you have a clear direction before diving into the visual aspects.
Storyboarding Enhances Clarity
A well-crafted storyboard serves as a visual guide that aligns the entire team on the project's vision, saving time and resources.
At this stage, don’t be afraid to let your imagination run wild. Sketch rough drafts or create mind maps to visualize how these ideas can connect. The goal is to create a solid foundation that will guide you as you move into the actual storyboarding phase.
Choosing the Right Format for Your Storyboard
Storyboards can take many forms, from simple sketches to detailed digital layouts. Choosing the right format is essential, as it should suit your project's needs and your team's workflow. For instance, if you're working on a quick animation, a series of rough sketches might suffice.
Storyboards are the blueprints of visual storytelling.
On the other hand, if you're preparing for a feature film, you might opt for more detailed frames that include camera angles, character positions, and notes about sound or transitions. This level of detail helps everyone involved understand the vision more clearly. Remember, there's no one-size-fits-all approach; it’s about what works best for your project.
Digital tools like storyboard software can enhance your experience, allowing for easy adjustments and collaboration. Whether you choose paper or digital, ensure that your format facilitates communication and creativity within your team.
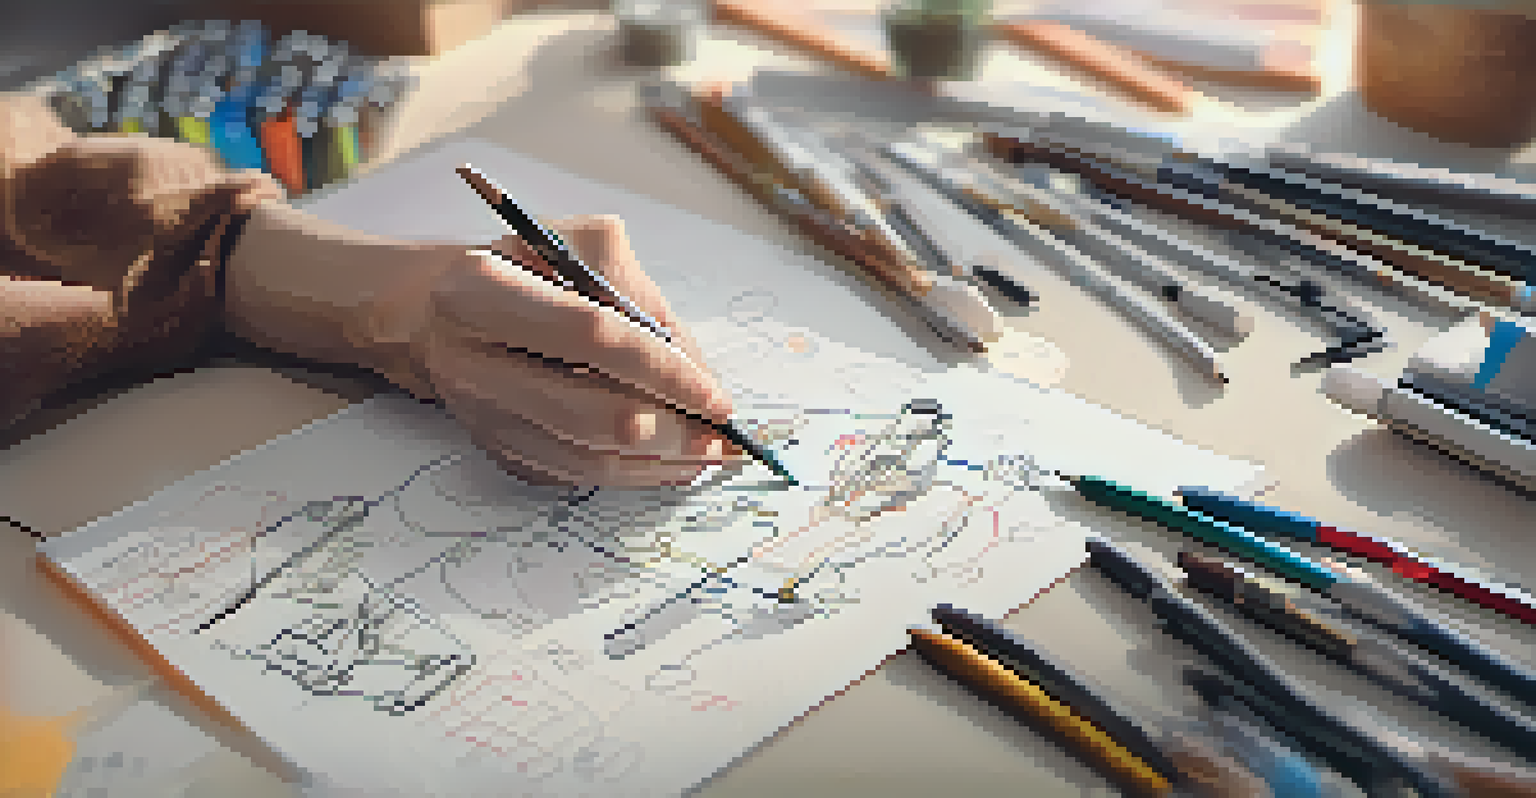
Sketching Your Scenes: Tips and Techniques
Now comes the fun part: sketching your scenes! Start by drawing the key frames that represent important moments in your story. Focus on capturing the essence of each scene rather than creating a perfect image. Stick figures or simple shapes can often convey actions effectively.
Use arrows and annotations to indicate movement, camera angles, or transitions between scenes. This additional information helps illustrate the dynamics of the story and guides the viewer's understanding. Remember, your sketches don’t need to be masterpieces; they should serve as a visual shorthand for your ideas.
Organize Ideas Before Sketching
Gathering and organizing your ideas is crucial for creating a logical narrative flow before diving into the visual aspects of storyboarding.
As you sketch, consider the pacing of your story. How long do you want the audience to linger on each scene? This can influence how you frame your sketches, with some scenes getting more detailed attention while others remain more abstract. The goal is to create a visual rhythm that enhances your narrative.
Adding Dialogue and Descriptions to Your Storyboard
Once you’ve sketched the scenes, it’s time to add dialogue and descriptions. This step is crucial as it provides context to your visuals, helping to convey emotions and intentions behind each action. Think of dialogue as the glue that holds the scenes together, enhancing the viewer's understanding.
Incorporate notes about sound effects, music, or any other audio elements that will complement the visuals. These details can significantly affect the tone and mood of your story, guiding how the audience feels during specific moments. It’s all about creating a richer narrative experience.
Be mindful of the length of your dialogue; keeping it concise ensures that it flows seamlessly with the visuals. The key is to strike a balance between your visuals and text, creating a harmonious storyboard that captures the essence of your story.
Reviewing and Revising Your Storyboard
With your storyboard taking shape, it’s time to step back and review your work. This can involve sharing it with collaborators for feedback, allowing others to provide insights or highlight areas that may need improvement. Fresh eyes can often catch things that you might have overlooked.
As you review, consider whether the story flows logically and if the pacing feels right. Are there scenes that feel too rushed or too drawn out? Revising is an essential part of the process, as it helps refine your vision and ensures that your story resonates with the intended audience.
Revise for a Stronger Narrative
Reviewing and revising your storyboard with feedback ensures that the story flows logically and resonates with the audience.
Don't hesitate to make significant changes if necessary. Sometimes, the best ideas come from rethinking your initial approach. Remember, a storyboard is a living document; it evolves as your project develops, reflecting your creative journey.
Finalizing Your Storyboard for Production
After revisions, the final step is to polish and finalize your storyboard for production. This means ensuring that all scenes are clearly labeled, and any additional notes are easy to understand. A well-organized storyboard will serve as a valuable reference during the production phase.
You may want to create a digital version that can be easily shared with your team. This format can facilitate collaboration and ensure everyone is on the same page as you move forward with your project. The clearer your storyboard, the smoother the production process will be.
Finally, remember that your storyboard is a tool meant to guide and inspire. As production unfolds, be open to adjustments and changes, as new ideas may emerge. Embrace the flexibility that comes with creativity, allowing your story to evolve while staying true to its core.